How to Record Your Own Guided Meditations in Your Home Studio
Have you been thinking about recording your own guided meditations for your soul-inspired business?
Whether you’d like to publish your recordings on CD Baby or YouTube, sell them in your own online store, or use them as an opt-in on your website, turning your guided meditations into a digital product is a wonderful way to showcase your magic, expand your reach online, and create some extra passive income each month.
To create your own guided meditations, you don’t always need to go to a professional recording studio right away. With the right equipment, you can easily produce beautiful, decent quality recordings at home.
If you’re wondering what tools you’ll need and how exactly to go about recording your own meditations, here are my favourite tips to get you started!

Recording Your Own Guided Meditations: Tools You’ll Need
1. A Quiet, Echo Free Room
First, find a quiet room with relatively little echo. This will make it much easier to create a clean recording that will require much less editing later.
If you can find a room with carpets, curtains, bedding, or all of these, that’s perfect. You can also set up a voice booth to get the sound you want. (Here are some examples of how to do this.)
2. Your Laptop or Computer
Next, set up your laptop or computer in a place near you where you can access it comfortably. If you’re going to be reading a script, make sure you can see and scroll your screen without straining. (You can use your computer or tablet for this, whichever is easier for you.)
You don’t need a super high tech computer to record your voice. However, having a fast enough processor and decent size RAM helps to keep your computer cool while you’re recording. This will reduce the amount of white noise in your audio tracks. (If you do get some fan noise though, it’s relatively easy to remove with the right audio editing software.)
3. Best Microphones for High-Quality Voice Recordings
The question I probably get asked the most is what microphone to use for guided meditation recordings. There are lots of great options out there, depending on your budget, but here are my personal favourites:
For my first series of guided meditations, I used a Roland Recorder (following a recommendation from a friend who happened to have one for her music recordings). Among all the microphones I’ve tried, this one produces the cleanest, ASMR quality sound. On the downside, I’ve found it to be almost too sensitive for voice recordings because it literally picks up everything. It’s great if you have a completely quiet space to record. If there is any kind of background noise in your surroundings (e.g. traffic noise), a condenser mic is probably more suitable.

Next, I got a Blue Snowball, which is a USB condenser mic that you can easily plug in to your computer. The Blue Snowball is a great, relatively affordable option if you’re just getting started. I still use it for my podcast recordings and regularly get compliments on the clarity of my voice. The Blue Snowball has different sensitivity settings and makes it easy to record your voice without much background noise. It works okay for guided meditations, too, but since it’s not a true stereo mic, you won’t get the ASMR effect you would with a higher quality microphone.

For this reason, I now like to recommend the Blue Yeti rather than the Blue Snowball for guided meditation recordings. I haven’t personally tested it yet, but have heard lots of great things from friends, and I’m planning on getting one for myself next time I record a new guided meditation series.
4. Pop Filter
The next thing I highly recommend is a pop filter to eliminate popping noises while you’re recording. It’s not always easy to catch those while you’re speaking, and they can be difficult to remove later, so this little piece of equipment is definitely worth it.
Here’s one that’s often used with the Blue Yeti mic.

5. Recording Software
If you’re recording your guided meditations using a USB plugin mic, you’ll need an audio application that you can use to record your tracks on your computer.
My two favourites are Audacity and GarageBand, both of which are free.
6. Editing Software
To edit my voice recordings, I use a combination of several applications, both free and paid.
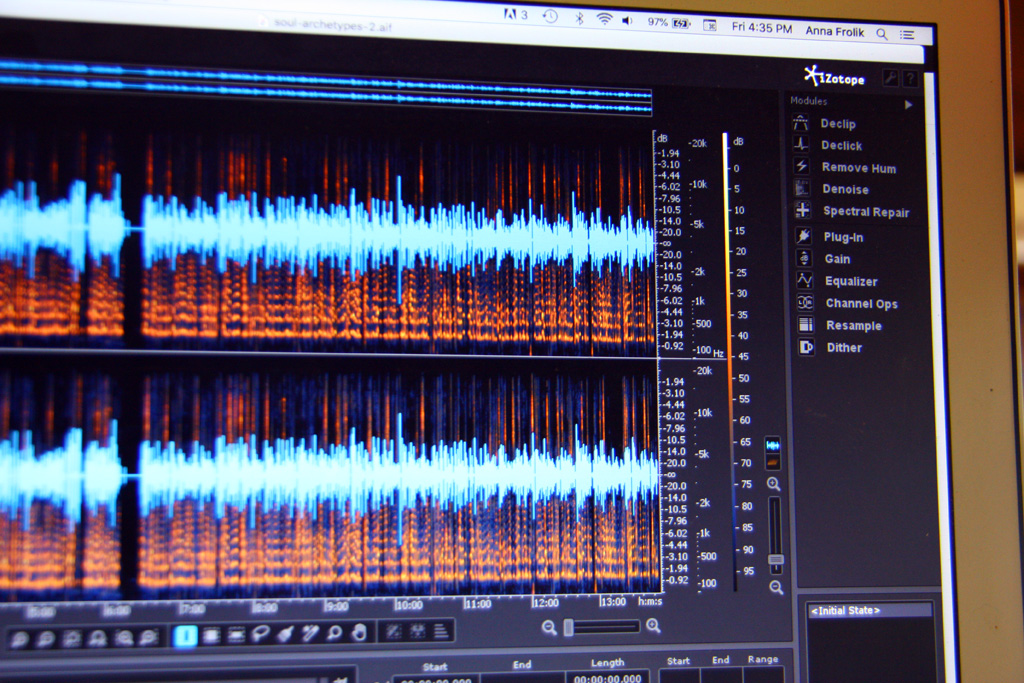
For very basic editing such as cutting out bloopers and parts of the recording that you don’t want to keep, Audacity works great. For more advanced editing, I prefer iZotope RX. I use the Standard version, which is great for white noise removal as well as editing out awkward clicks and mouth noises.
After I’ve cleaned up my audio files, I put all the pieces (voice and music) together in GarageBand. (Pssst! If you’re looking for beautiful royalty free music for your guided meditations, click here!)
The Recording Process: How to Create Your Own Guided Meditations Step by Step
Alright, now you have all the equipment you need! What’s next?
You’ll probably develop your own style and process after a while of regularly creating your own audio recordings, but if you need some inspiration to get started, here’s how I typically go about recording my guided meditations:
1. Use a Script or Channel Live?
If you’re wondering whether to channel your guided meditations live or prepare a script before you start recording, I don’t have the ultimate answer for you. I’ve tried both, and have found that both of these can work depending on the situation.
Channeling your meditations live can feel more natural, but at the same time, it can be annoying if you get interrupted and have to start all over again. If I know that I might get some noise interruptions in the middle of a longer recording (yep, my dog likes to bark randomly sometimes), I often prefer to use a script—especially if I intend to publish the recording on iTunes, Amazon & co.
For shorter meditations and recordings that I might publish on YouTube or as an opt-in only, channeling live can work just great (and is quicker).
2. Drink Water Ahead of Time
This may not be the same for everyone, but if you’re a noisy speaker like me, you’ll find that drinking lots of water at least a few hours before you start recording can help to reduce clicky mouth noises.
You can also use an audio editing program like iZotope RX for this, but eliminating as much noise as you can from the start will save you lots of time, and you’ll end up with a better quality recording.
In addition to making sure you’re well hydrated, I also recommend avoiding foods that can cause mouth dryness or other unwanted effects such as coffee, dairy, or carbonated drinks.
3. Create a Sacred Space
Setting up your recording equipment properly is one thing. If you’re creating guided meditations or other inspirational audio products, you’ll also want to make sure you have a sacred space in which you can feel at ease while you’re recording.
Eliminate as many distractions as you can (such as your phone, Facebook notifications, etc.) and do whatever it takes to high-vibe your energy before you get started. I typically prefer to record when there’s nobody else in the house, and I always take some time to meditate and relax before I hit the record button.
If I’m super stressed or unfocused, I go for a walk or take a nap beforehand.
4. Recording Your Audio Track(s)
Once you’re ready to start recording, sit down in a comfortable position that allows you to access your mic, recording device, and script (if you have one) easily.
If you haven’t already, record a few short samples before you begin to make sure that your equipment is set up properly and that your mic is picking up your voice correctly. (Believe me, you don’t want to skip this step! There’s nothing more annoying than realizing after half an hour of recording that your mic wasn’t plugged in or that you were using the wrong device!) ;)
Once everything is set up the way you want it, go ahead and start recording.
Do your best to stay as relaxed and natural as you can while you’re speaking, and don’t worry too much about making everything perfect.
If you make a mistake, just repeat that last sentence one more time (you can cut that out later), and continue as if nothing had happened. I promise no one will notice! :)
If you like, record each track twice just in case. I don’t always do this, but when I do, I often find that one of my recordings is more clear or natural than the other. And, if there’s any hard-to-remove noise in the recording, I can just replace that section with a clip from the other version rather than having to rerecord the whole thing.
5. Editing Your Audio Tracks
There’s a lot that can go into editing your audio tracks, and I’m not a professional audio engineer, so I’ll just cover the very basics here. (If editing audio is not your thing, consider hiring someone to do it for you—it may be a bit of an investment, but can also save you a lot of time.)
Anyway, here are the steps I typically include in my editing process:
Save the audio file you just recorded.
Open it in your preferred audio editing program (see suggestions above).
Listen to the recording, cut out any parts that you don’t want to keep, add pauses where needed.
Open the audio file in iZotope RX (or whichever software you prefer), adjust the audio volume if necessary, and remove white noise.
Listen to the recording again and remove any other noise (such as awkwardly loud mouth clicks).
Save and export the audio file.
Open GarageBand (or whichever software you prefer). Import your voice and music tracks and play around with volume settings, special effects, etc. until you’re happy with the quality and feel of your recording.
Listen to the complete mix and make any final edits if necessary.
Export your finished guided meditation.
Split into multiple tracks if desired. (See an example of this here!)

6. Publishing Your Guided Meditations
Once you’re happy with your finished guided meditation album, you can go ahead and publish it.
You may want to submit it to CD Baby (which is a great way to make your album available on multiple platforms such as Amazon, iTunes, Spotify, etc.), upload it to YouTube to grow your subscriber base and make some extra passive income, publish it as an opt-in on your website to grow your mailing list, or use it in another creative way.
Your imagination is the limit!